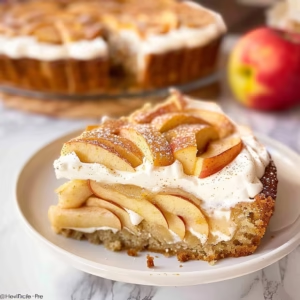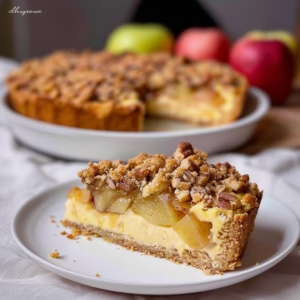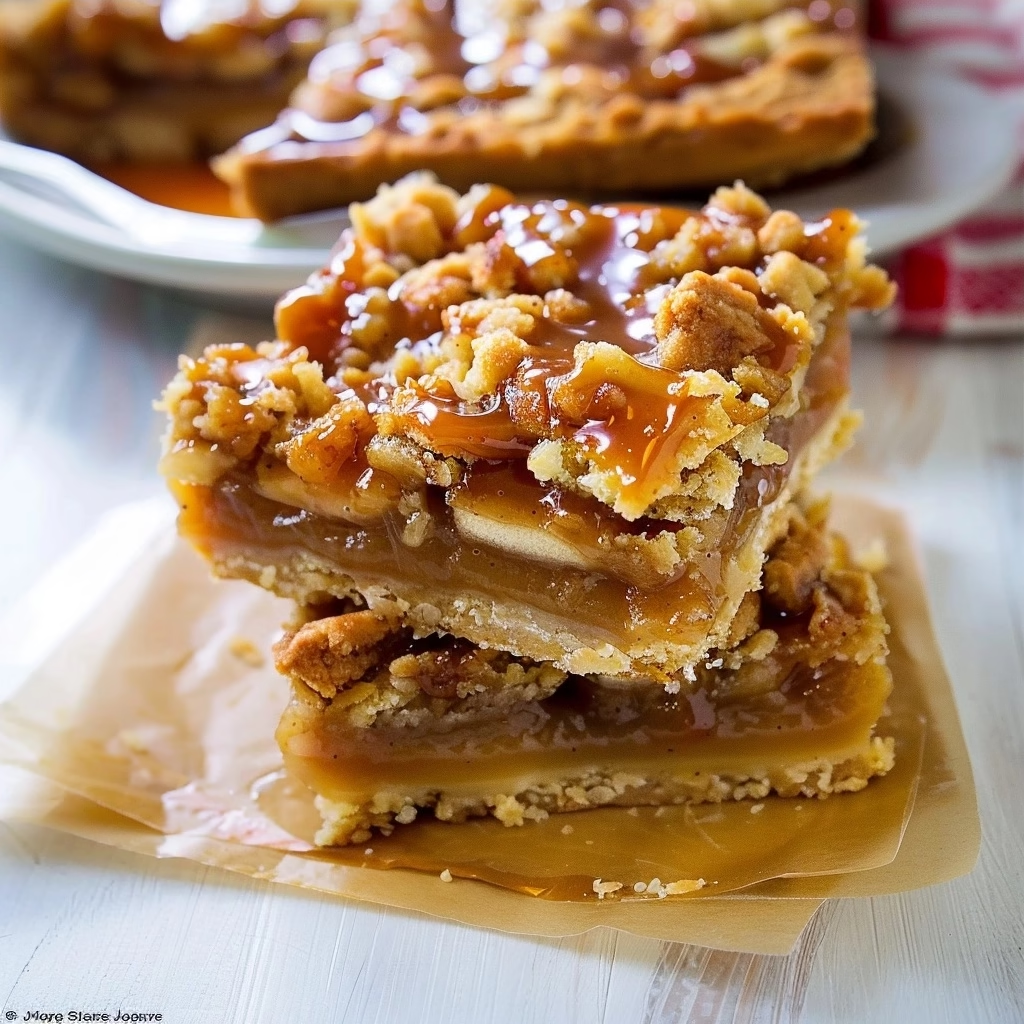
Decadent Salted Caramel Apple Pie Bars
Decadent salted caramel apple pie bars are truly the ultimate comfort dessert for anyone who loves the warm, spiced flavors of autumn but wants something a little easier to share than a traditional pie. I remember my early days in the kitchen struggling with finicky pie crusts that would shrink or crumble the moment I looked at them the wrong way. Discovering this bar version was a total game-changer, offering all that buttery, spiced apple goodness in a much more approachable format that creates perfect, shareable squares every single time.
These bars have become a staple in my household because they strike that perfect balance between a crisp, shortbread-like base and a tender, cinnamon-infused apple filling. Adding that final drizzle of salted caramel elevates the entire experience, turning a simple tray bake into a restaurant-quality treat that feels special enough for a gathering yet cozy enough for a quiet Tuesday evening at home.
What is Decadent Salted Caramel Apple Pie Bars?
Decadent salted caramel apple pie bars are a layered dessert that reimagines a classic apple pie in a pan-based format. Instead of a traditional pastry crust, these bars feature a sturdy, buttery shortbread base that is pre-baked to ensure it stays crisp under the generous layer of spiced apple slices. The top is finished with a crunchy, oat-based streusel that adds a delightful texture, mimicking the crumble topping often found on cozy apple crisps.
What makes this particular recipe unique is the interplay between the tart, sliced apples and the rich, sweet caramel finish. By layering the apples tightly and keeping them uniform, you get a dense, fruit-forward center that holds its shape beautifully when sliced. It captures the essence of a rustic farmhouse dessert, simplified into a portable, satisfying bar that is easy to serve without the need for pie servers or deep-dish plates.
Reasons to Try Decadent Salted Caramel Apple Pie Bars
The primary reason to fall in love with these bars is their sheer convenience. If you have ever felt intimidated by the lattice-work or edge-crimping of a standard pie, these bars completely remove that anxiety. You get all the comfort of a slow-baked dessert, but the process is straightforward enough that even a beginner can achieve a high-end result with minimal effort.
These bars are also incredibly versatile, making them a hero for busy entertainers. Because they need to chill before being sliced, they are a fantastic make-ahead option that actually improves in flavor after sitting for a few hours. Whether you are hosting a festive brunch, bringing a dessert to a potluck, or just craving something indulgent to pair with your afternoon tea, these bars fit the occasion perfectly.
Ingredients Needed to Make Decadent Salted Caramel Apple Pie Bars
Shortbread Crust:
- 1/2 cup (113g) unsalted butter, melted
- 1/4 cup (50g) granulated sugar
- 1 teaspoon pure vanilla extract
- 1/4 teaspoon salt
- 1 cup (125g) all-purpose flour (spooned and leveled)
Apple Filling:
- 2 large apples, peeled and thinly sliced to 1/4 inch thickness (a mix of Granny Smith and Pink Lady works best)
- 2 Tablespoons all-purpose flour
- 2 Tablespoons granulated sugar
- 1 teaspoon ground cinnamon
- 1/8 teaspoon ground nutmeg
Streusel:
- 1/2 cup (43g) old-fashioned whole rolled oats
- 1/3 cup (70g) packed light or dark brown sugar
- 1/4 teaspoon ground cinnamon
- 1/4 cup (31g) all-purpose flour (spooned and leveled)
- 1/4 cup (56g) unsalted butter, cold and cubed
- Homemade or high-quality store-bought salted caramel sauce for drizzling
Instructions to Make Decadent Salted Caramel Apple Pie Bars – Step by Step
Step 1: Start by preheating your oven to 300°F (149°C). Line your 8-inch square baking pan with parchment paper, ensuring there is enough overhang on the sides so you can easily lift the finished bars out later. A good lining job is your best friend when it comes to clean, sharp edges.
Step 2: To make the crust, mix the melted butter, granulated sugar, vanilla, and salt in a bowl until smooth. Stir in the flour until a dough forms. Press this mixture evenly into the bottom of the pan and bake for 15 minutes. While the oven is running, you can move on to the fruit and topping preparations.
Step 3: For the apple filling, toss the thin apple slices with the flour, sugar, cinnamon, and nutmeg in a large bowl. Ensure every slice is coated, as this helps thicken the juices that release during baking. Set this mixture aside while you prep the streusel.
Step 4: Combine the oats, brown sugar, cinnamon, and flour in a medium bowl. Work the cold, cubed butter into the mixture using a pastry blender or your fingers until you see coarse, sandy crumbs. Keeping the butter cold is key here, so work quickly to ensure you get those beautiful, crunchy pieces in the final bake.
Step 5: Increase your oven temperature to 350°F (177°C). Carefully layer the spiced apples over the warm crust, packing them down snugly to maximize the fruit content. Sprinkle the streusel over the top, making sure to cover all the gaps, and bake for 30 to 35 minutes until the topping is a deep golden brown.
Step 6: Let the pan cool on a wire rack for at least 20 minutes before moving it to the refrigerator. Chilling for at least 2 hours is essential to help the bars set completely so you can slice them into clean, perfect squares. Once cooled, lift them out using the parchment paper and drizzle generously with salted caramel just before serving.
Chef’s Tips for a Perfect Result
- Use two types of apples: Mixing a tart variety like Granny Smith with a sweet one like Pink Lady creates a more balanced flavor profile.
- Don’t skip the chill: Cooling the bars fully in the refrigerator is what transforms them from a messy crumble into structured, elegant bars.
- Measure flour correctly: Use the spoon-and-level method rather than scooping directly from the bag to avoid a dry, dense crust.
- Keep butter cold for streusel: Working with cold butter ensures your topping remains crumbly rather than turning into a flat, greasy paste.
Variations and Substitutions
Gluten-Free Alternative: Swap the all-purpose flour in the crust, filling, and streusel for a high-quality 1:1 gluten-free baking blend. Ensure your oats are certified gluten-free as well to keep the recipe safe for those with sensitivities.
Nutty Crunch: Add a 1/2 cup of finely chopped pecans or walnuts into the streusel mixture for an extra layer of flavor and a satisfying, earthy crunch that pairs wonderfully with the caramel.
Dairy-Free Option: Substitute the butter with a firm, high-quality plant-based butter stick. Use a vegan caramel sauce, often made from coconut milk and brown sugar, to maintain the classic flavor profile.
How to Serve and Pair
These bars are best served at room temperature, which allows the buttery notes in the crust to shine. For a cozy finish, serve each bar with a small scoop of vanilla bean ice cream or a dollop of unsweetened whipped cream to cut through the sweetness of the caramel.
When hosting, I love serving these alongside a hot mug of spiced cider or an Earl Grey tea. The contrast between the warm, spiced apples and a chilled, crisp bar makes it a standout choice for autumn afternoons or holiday gatherings.
Storage and Reheating
Refrigerator: Store any leftovers in an airtight container for up to 3 days. The crust may soften slightly over time, but the flavor remains excellent.
Freezer: These bars freeze beautifully. Wrap them individually in plastic wrap and store them in a freezer-safe bag for up to 3 months. Thaw overnight in the refrigerator before adding the final caramel drizzle.
Reheating: If you prefer them warm, place a bar in the oven at 300°F for about 5 minutes. Avoid the microwave, as it tends to make the crust soggy and ruins the crisp texture of the streusel.
Nutritional Values
- Calories: 285 per serving
- Protein: 3g
- Carbohydrates: 38g
- Fat: 14g
- Fiber: 2g
Approximate values.
Frequently Asked Questions (FAQ)
Can I substitute the apples with pears?
Yes, you can swap the apples for firm pears like Bosc or Anjou, which hold their shape well during the baking process without turning into mush.
How do I know when the bars are fully baked?
The bars are ready when the streusel topping has turned a medium golden brown and you can see the apple juices bubbling softly around the edges of the pan.
Why did my crust turn out soggy?
A soggy crust usually occurs if the pan was too crowded or if the bars were not allowed to chill long enough, causing the liquid from the apples to seep into the base before it could set.
Can I assemble this the night before?
You can certainly prep the crust and even the full assembly ahead of time, but for the best texture, keep the baked, uncut bars in the fridge until you are ready to serve.
What is the best way to cut clean squares?
Use a long, sharp chef’s knife and wipe it with a warm, damp cloth between each cut to prevent the sticky caramel and apple filling from dragging through the crust.
CONCLUSION
Decadent salted caramel apple pie bars are a wonderful way to enjoy the classic taste of fall in a convenient, shareable format. I encourage you to whip up a batch this weekend, as the house will fill with the most comforting aroma of cinnamon and butter while they bake. The signature combination of tart, fresh apples and that glossy, salted caramel finish makes these bars an irresistible treat that is sure to become a favorite in your kitchen.
Print
Decadent Salted Caramel Apple Pie Bars
- Prep Time: 20
- Cook Time: 50
- Total Time: 70
- Yield: 16 bars 1x
- Category: desserts
- Method: Baking
- Cuisine: American
- Diet: Vegetarian
Description
These decadent salted caramel apple pie bars are the ultimate comfort dessert, combining a buttery, crisp shortbread base with a tender, cinnamon-spiked apple filling. Topped with a crunchy oat streusel and finished with a luscious drizzle of salted caramel, these bars offer all the warmth of a classic apple pie in an easy-to-share, portable format. Perfect for gatherings or a cozy evening treat, they are an approachable alternative to traditional pie that never fails to impress.
Ingredients
1/2 cup unsalted butter, softened
1/4 cup granulated sugar
1 1/4 cups all-purpose flour
3 large Granny Smith apples, peeled and thinly sliced
1/4 cup brown sugar
1 teaspoon ground cinnamon
1/2 cup rolled oats
1/4 cup all-purpose flour (for streusel)
2 tablespoons cold butter (for streusel)
1/4 cup prepared salted caramel sauce (alcohol-free)
Instructions
Preheat your oven to 350°F and grease a 9×9 inch baking pan.
Cream together the 1/2 cup softened butter and 1/4 cup sugar, then mix in 1 1/4 cups flour to form a dough.
Press the dough evenly into the bottom of the prepared pan and bake for 15 minutes.
In a bowl, toss the apple slices with brown sugar and cinnamon.
Layer the apple slices evenly over the partially baked crust.
Combine oats, 1/4 cup flour, and 2 tablespoons cold butter using a fork until crumbly, then sprinkle over the apples.
Bake for 30-35 minutes until the topping is golden brown and apples are tender.
Allow to cool completely before drizzling with salted caramel sauce and slicing into squares.
Notes
Ensure apples are sliced to a uniform thickness so they bake evenly. The bars must cool fully before slicing to ensure the layered structure sets properly. Store in an airtight container in the refrigerator for up to 3 days.
Nutrition
- Serving Size: 1 bar
- Calories: 210
- Sugar: 18g
- Sodium: 85mg
- Fat: 9g
- Saturated Fat: 5g
- Carbohydrates: 32g
- Fiber: 2g
- Protein: 2g
- Cholesterol: 25mg